A musician and artiste 🎨
Welcome to our Upload Guide, an easy guide to follow when creating your release on RouteNote. If you have any specific or difficult questions, feel free to search your question on our Support Hub, email us at support@routenote.com or use our Contact Us form.
Follow our quick guide on how to upload your artwork below!
So before you get started, whether you already have artwork prepared or not, it’s really handy to have a quick read of the Style Guidelines shown below:
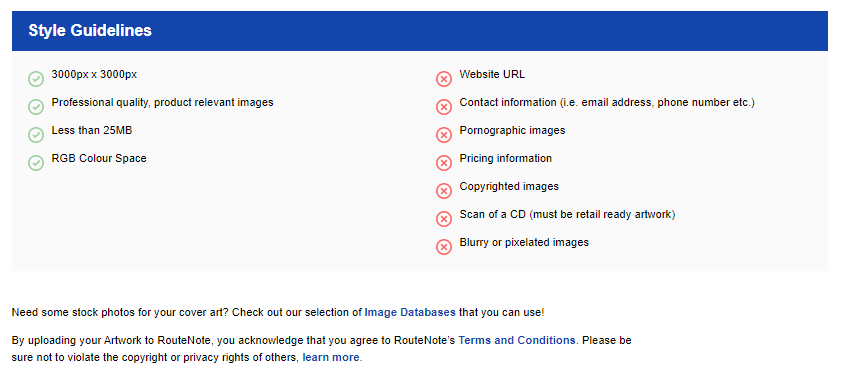
For further artwork tips, click here.
Once you’ve had a read and your artwork fits the bill, you can go ahead and upload!
If you’re looking for free images to use in your artwork, click here for advice.
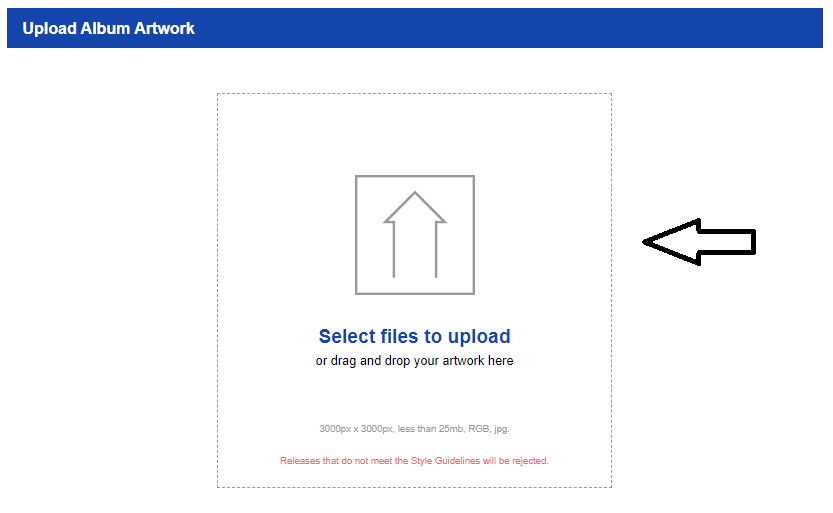
You can do this either by clicking in the box and locating your artwork in your files, or by dragging and dropping your artwork file.
If you get any upload issues, click here to see how it can be fixed.
After it’s uploaded, click Save and Continue.
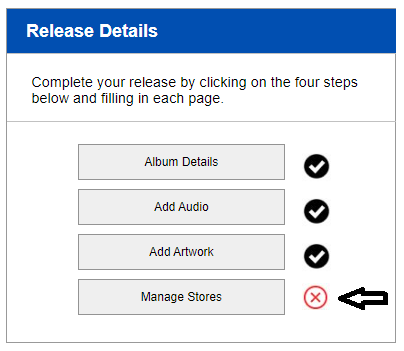
This’ll take you back to the main page for your release, you should see Step 3: Complete.

Now you’re on the last bit! Click on Manage Stores.
We’re getting close to the end now, this leads us to…How do I fill the Manage Stores section?
Skip to section:
How do I fill the Manage Stores section?
How do I finalise my release and send to moderation?
Return to section:
How do I open and start a new release on RouteNote?
How do I fill my Release Data page; UPC and Release Title?
How do I navigate my release in-progress main page?
How do I fill Album Details?
How do I add audio?
How do I fill Audio Metadata?
Please see RouteNote’s Upload Guide in video format!